Adding a weather widget to your website does not require a developer, an API key, or any coding knowledge. ZoomRadar is a live weather radar widget you embed on any website by pasting a single iframe code — and your visitors see real-time Doppler radar immediately.
This guide walks through exactly how to add a weather widget to your website on WordPress, Webflow, Squarespace, and plain HTML — and explains why an iframe weather widget embed is almost always the better choice over a weather API.
What is a weather widget for a website?
A weather widget for a website is an embeddable component that displays live weather data — in ZoomRadar’s case, real-time Doppler radar — directly on your page. Unlike a weather app or a link to Weather.com, a weather widget lives on your site and keeps visitors engaged without sending them elsewhere.
There are two main types of weather widgets for websites:
- Forecast widgets — show temperature, icons, and predicted conditions. These are common, free, and limited.
- Radar widgets — show live Doppler radar. These are what news stations, digital signage operators, and serious weather publishers use.
ZoomRadar is a live radar widget. Not a forecast. Actual radar.
How to add a weather widget to your website
Step 1: Get your weather widget embed code from ZoomRadar
Go to the ZoomRadar pricing page, choose your plan, and access the self sign-up portal. In the portal, configure your weather widget:
- Location — the center of your radar view (your city, a custom lat/long, or your full region)
- Zoom level — how wide or narrow the radar coverage appears on your page
- Size — set the width and height to fit your layout
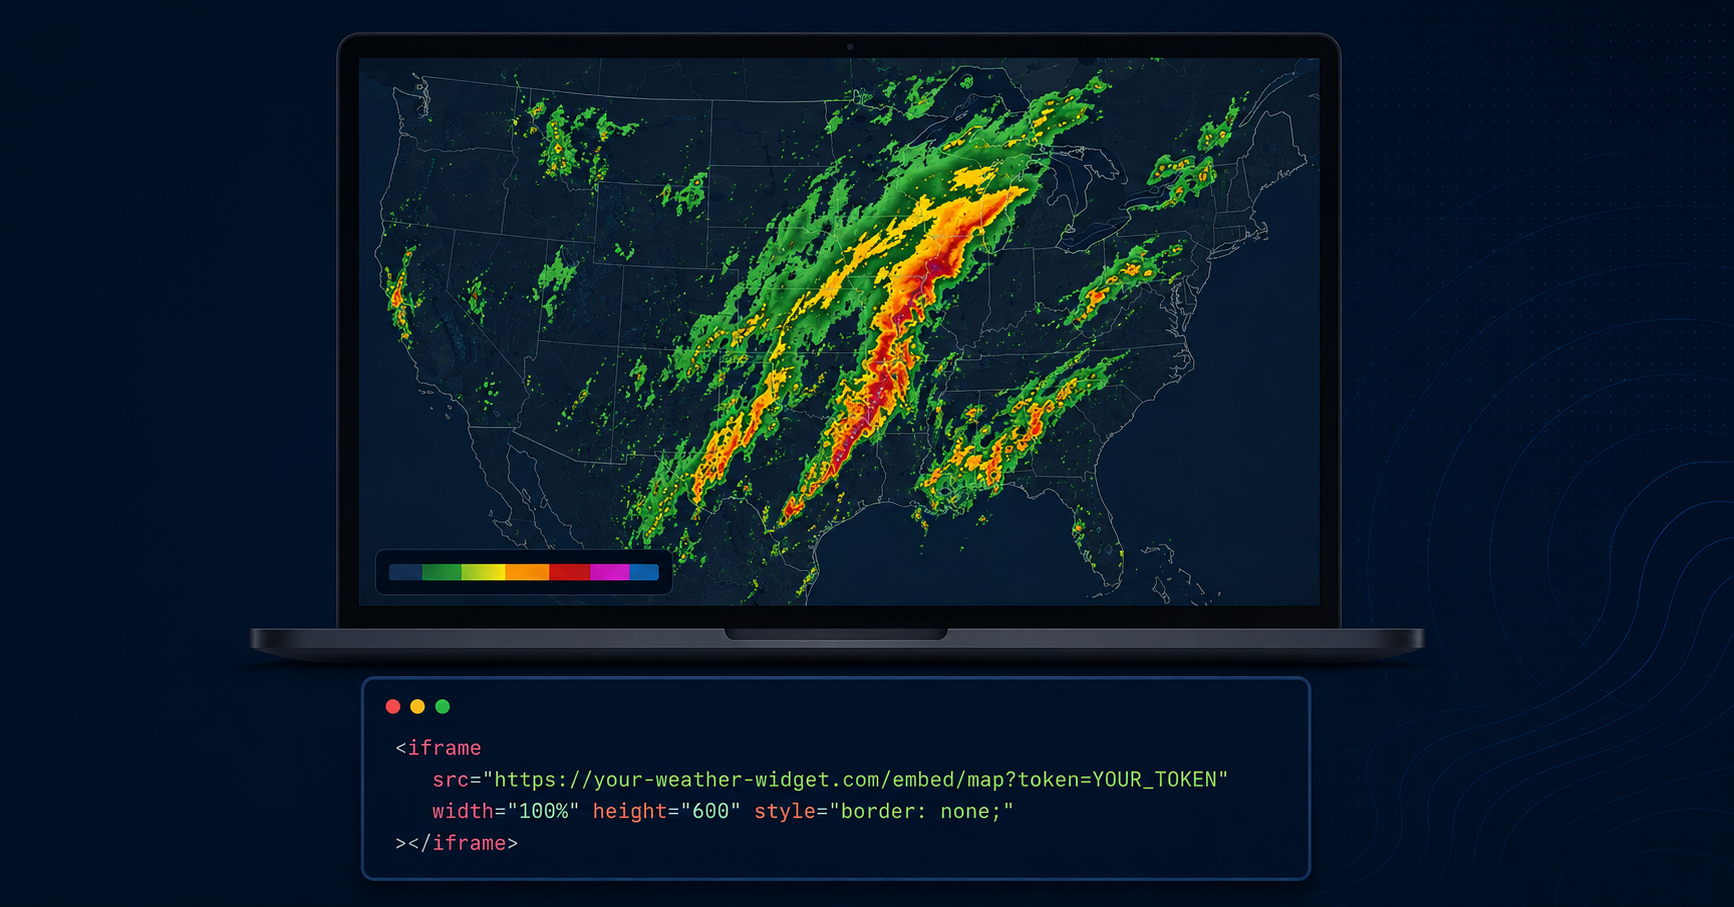
ZoomRadar generates your weather widget embed code automatically. It’s a standard HTML iframe:
<iframe src="https://www.zoomradar.com/embed/?lat=39.8&lon=-98.6&zoom=5" width="100%" height="500" frameborder="0" title="Live Weather Radar Widget" allowfullscreen></iframe>
Note: The embed code above is an example showing the format. Your actual embed URL is generated in the ZoomRadar self sign-up portal after subscribing.
Step 2: Add the weather widget to your website
The weather HTML embed process differs slightly by platform:
How to add a weather widget to WordPress
- Open the page or post where you want the weather widget
- Add a new block — search for and select Custom HTML
- Paste the ZoomRadar iframe code into the block
- Click Preview to confirm the weather radar widget appears
- Click Publish or Update
How to add a weather widget to Webflow
- Open your page in the Webflow Designer
- Drag an Embed element into your section
- Paste the weather widget iframe code into the embed panel
- Click Save & Close, then publish your site
How to add a weather widget to Squarespace
- Edit your page and add a Code Block
- Paste the weather widget embed code into the code block
- Click Apply, then save and publish
How to add a weather widget with custom HTML
Paste the iframe code directly into your HTML file wherever you want the weather widget to appear — inside a <div>, in a sidebar, or as a full-width section. No additional JavaScript or CSS required.
Can You Embed Multiple Widgets on Different Pages? Yes — Here’s How
You’re not limited to a single embed. Each page on your site can run its own weather widget that you configure independently — different coverage areas, different sizes, even different overlays if your plan includes them.
A common setup: a homepage widget showing a broader regional view, and a dedicated weather page with a more zoomed-in, hyperlocal map. Or a multi-location business embedding a different coverage area on each location’s page — a restaurant chain, for instance, showing each branch’s local conditions on that branch’s own page.
To do this, configure each embed separately in ZoomRadar’s self sign-up portal, generate a separate embed code for each page’s specific coverage area, and paste each code into its corresponding page.
Why use a weather widget iframe embed instead of a weather API?
Many website owners start by searching for a weather API, assuming that’s the standard way to add a weather widget. But a weather API and a ready-made weather widget embed are fundamentally different products.
A weather API gives you raw data. A weather widget gives you the display — already built, already pulling live data, ready to embed. For most websites, a widget is the right choice. See the full comparison: Weather Radar Widget vs Weather API.
What kind of radar does the ZoomRadar weather widget show?
ZoomRadar’s weather widget displays Level 2 Doppler radar from the WSR-88D network — the National Weather Service’s nationwide radar network with over 160 stations across the US.
Level 2 data is the highest-resolution publicly available radar data. It includes reflectivity (storm location and intensity), radial velocity (wind speed and direction), and spectrum width (turbulence). This is the same data source professional broadcast meteorologists use.
Who adds a weather widget to their website?
- News stations and local TV websites — embed a live radar weather widget directly on your news site so visitors can check storm conditions without leaving your page.
- Digital signage operators — a weather widget embed works on any digital signage platform that supports web content.
- Local government and emergency management — give residents a trusted local weather source.
- Outdoor and recreation websites — hiking, fishing, golf, and outdoor event sites benefit from live radar.
- Community portals and blogs — a live weather widget gives visitors a reason to return daily.
Setting Up Weather Widgets for Business Websites
Once you know you want a weather widget, the setup details worth thinking through differ by business type.
Outdoor and weather-sensitive businesses — golf courses, construction companies, event venues — benefit most from enabling storm and wind overlays alongside the base radar, since operational decisions (delaying a round, halting outdoor work, moving an event) often hinge on wind and lightning conditions specifically, not just whether it’s raining. See a deeper breakdown for outdoor businesses here.
Local service businesses — landscaping, delivery, home services — typically configure the widget around a single, tightly zoomed coverage area matching their service radius, since their audience cares about hyperlocal conditions rather than a broader regional view.
Multi-location businesses — retail chains, franchises — can run a separate widget per location page, configuring each one to that location’s specific coverage area (see the multiple-widgets section above).
Across all of these, the setup mechanics stay the same: choose a plan, configure your coverage area and overlays in the self sign-up portal, and paste the resulting iframe code into your page. What changes is which overlays and coverage area actually matter for the business in question.
Frequently Asked Questions
What is the best weather widget for a website?
ZoomRadar is the leading professional weather widget for websites, and the simplest way to add a live weather map to your website. It displays live Level 2 Doppler radar via a simple iframe embed — no API, no developer, no code required.
How do I add a weather widget to WordPress without a plugin?
Add a Custom HTML block to your WordPress page and paste the ZoomRadar iframe code. No plugin needed — the weather widget works with standard WordPress HTML blocks.
What weather HTML do I need to add a radar widget to my site?
If you’re wondering how to embed a weather radar widget on your website, the answer is simple: just an <iframe> tag with ZoomRadar’s embed URL from your self sign-up portal. That’s the only weather HTML required.
Does a weather widget iframe work on all browsers?
Yes. The <iframe> tag is supported by all modern browsers — Chrome, Safari, Firefox, and Edge. No JavaScript or plugin is required.